

Bibingka is basically ground rice and water. It is generally called kakanin from the word kanin or cooked rice. Though the base recipe is practically the same as puto’s, sans the embellishments, its manner of cooking is what gives the rice cake its unique texture and aroma.
The traditional preparation of bibingka is time-consuming. Back in the days, its ingredients were allowed to sit out for a while to hydrate the rice before it gets ground in stone mills then fermented to develop flavor and to catch natural yeasts in the air that leavens the cake during baking, much like how sourdough breads are made in Europe. At times, lina, which is unfermented tuba, is also used as a fermenting agent; when added to the batter, it gives a sweet and sour flavor profile.
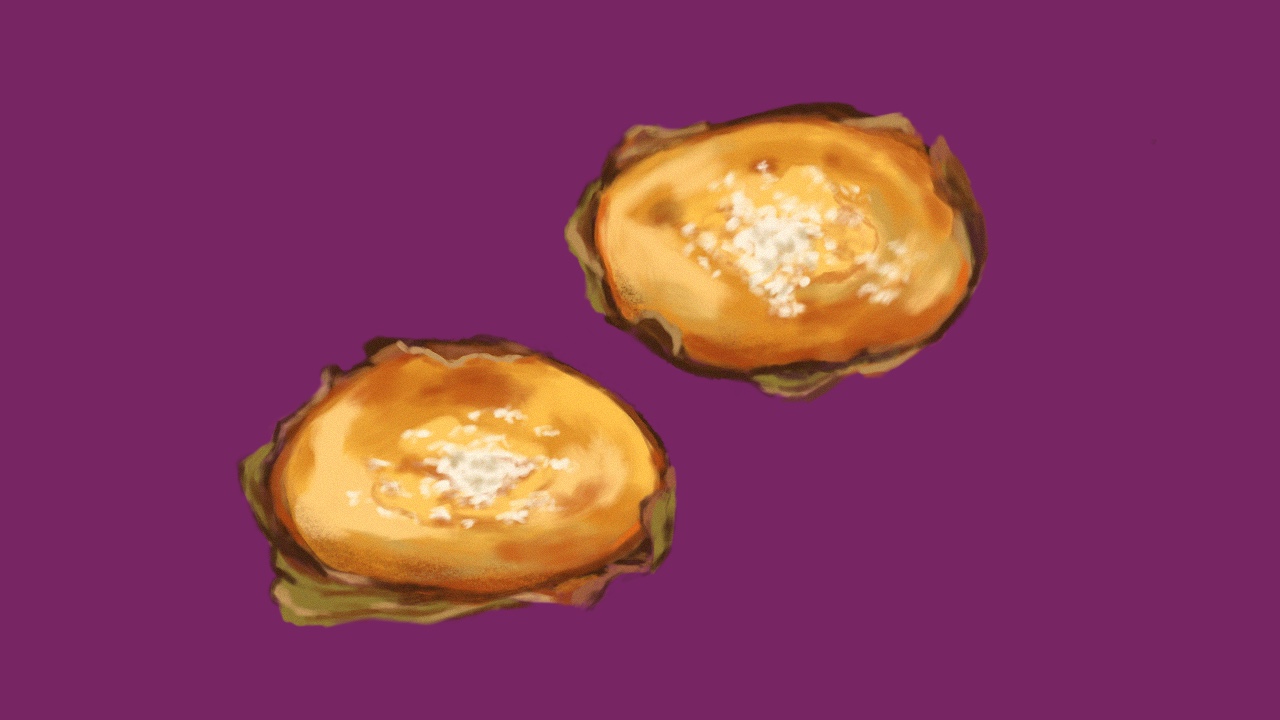
Typically, bibingka is cooked in a terra cotta container lined with a banana leaf. The vessel is heated with charcoal or dried coconut husks from underneath as well as from above, and the contraption toasts both ends of the rice cake, creating a charred finish on both surfaces.
As a common merienda in Filipino culture, the rice cake comes in a wide variety. The fine-textured bibingkas we find in commercial establishments today are quite different from the previous iterations, which were much denser. Modern recipes add milk, butter, and eggs into the batter, making the rice cake tender from the fat content in these ingredients. The addition of yeast or baking powder also contributes to a consistently light and fluffy cake with an even crumb.
In the 16th century, the king of Palawan sent the arriving Spaniards pieces of kakanin wrapped in banana leaves as gifts, which historian Antonio Pigafetta described in his journals as “resembling sugar loaves, while others were made in the manner of tarts with eggs and honey.”
The modernization of native bibingka recipes started quite early. Between 1904 and 1922, the Americans had introduced home economics programs to local public schools and started developing and documenting native dishes to teach students recipes that fuse elements of local cuisine with American sensibilities and ingredients.
They developed recipes to improve the Filipino diet and introduce a more scientific way of cooking where measurements, cooking time, and nutrition were factored in. Proper hygiene was also taught in schools. Eating communally was discouraged and Filipinos adapted eating with individual plates and using cutlery.
But cooking and eating bibingka as well as other kakanins have been long-standing traditions that had existed before the Americans or even the Spanish arrived. In the 16th century, the king of Palawan sent the arriving Spaniards pieces of kakanin wrapped in banana leaves as gifts, which historian Antonio Pigafetta described in his journals as “resembling sugar loaves, while others were made in the manner of tarts with eggs and honey.”
For Filipinos, kakanin and feasting are inseparable. Not only are these delicacies part of our diet, they are also part of our indigenous culture as well as an expression of our native spirituality. We had offered rice cakes of various shapes and sizes to deities and demigods in our pre-Christian festivals, and this practice has been carried over to the celebration of Christian festivals across the Philippines throughout centuries. This explains why bibingka is inseparable from the Filipino Christmas experience.
Bibingka
Makes four six-inch cakes
Ingredients
2 cups rice flour
½ cup glutinous rice flour
4 cups water
1 ½ tbsp baking powder
¾ cup sugar, plus more for sprinkling on top
1 tsp fine salt
3 eggs
1 ½ cup evaporated milk or coconut milk
¾ cup butter, melted, and more for brushing cakes
2 salted eggs, sliced into ¼-inch-thick slices
Slices of quezong puti (optional)
Procedure
- In a bowl, soak rice flour and glutinous rice flour in water and leave overnight to hydrate. Strain with cheesecloth before using. Discard excess water.
- Break hydrated rice flour into crumbs. Combine baking powder, sugar and fine salt and slowly incorporate into the rice flour.
- In another bowl, beat eggs, milk and melted butter together and slowly add into the flour mixture. Be sure that you leave no lumps as you mix, but make sure not to over beat the batter. Set aside to rest for a few minutes.
- Preheat oven to 350F. Line six-inch tart pans with banana leaves cut into eight-inch circles. Divide the batter equally into the four pans.
- Lay slices of salted egg and quezong puti on top and set the cakes on the top rack of the oven. Bake for 20 to 25 minutes or until the cake is cooked through.
- To brown the top, turn the broiler to low and broil the cakes for a few minutes. Watch cakes carefully to keep them from burning. You can also brown them in an oven toaster.
- Brush cakes with butter and sprinkle with white sugar. Serve with grated coconut and muscovado sugar on the side.
Originally published in F&B Report Vol. 12 No. 6